Trying to get cinematic drone shots while squinting at a bright phone screen is frustrating. You tap, you guess a path, hit record, and only realize the framing is wrong when you’re back home.
A surprisingly effective fix is to treat your drone shots like storyboards: draw the flight path as simple lines first, then use that sketch to guide how you fly.
This walkthrough shows a phone friendly workflow to use line drawings to plan drone moves before takeoff. You don’t need expensive software just a basic drawing app and your drone controller app.

Why plan drone shots with line drawings?
Line drawings solve three common problems with mobile drone shooting:
- No clear path: Many pilots launch first and only then think about what to shoot. A drawn path forces you to decide the move beforehand.
- Choppy footage: Quick, last second stick movements show up as jerky footage. A planned movement lets you fly smoother, at a consistent speed.
- Wasted battery: Trial and error takes off precious flight time. If you already have a list of paths, you just execute.
Think of the line drawing as a simple script for your drone: where it starts, where it ends, and how it moves relative to your subject.
What you need on mobile
You can keep the setup basic. At minimum you’ll need:

- A drone with a mobile app controller (DJI, Autel, Skydio, etc.). Exact menus and map views vary by brand.
- A drawing app on your phone or tablet. Any app that supports layers and basic brushes is enough:
- Android: ibis Paint X, Infinite Painter, Sketchbook, or even Google Keep/Notes with drawing.
- iOS: Procreate Pocket, Concepts, or Apple Notes drawing tools.
- Optional: A stylus for more precise lines if you’re planning complex paths.
Some advanced drones support importing waypoints or KML paths, but many casual users just want a visual plan they can follow manually. This guide focuses on that manual but structured workflow.
Step 1: Capture a reference frame or map view
First you need a base image that represents the area you’ll fly in. There are two practical options:
Option A: Use the drone app’s map view
- Open your drone’s mobile app with the drone powered on in a safe open area.
- Make sure GPS and map view are working. Zoom in on the location where you’ll fly.
- Take a screenshot of the map with your intended takeoff point visible.
Option B: Use a photo of the scene
- Walk to your shooting location and take a wide photo (or a short establishing clip) with your phone or drone.
- Take a screenshot of that frame so you have a simple, flat reference image.
In both cases, the screenshot is just a canvas. You’ll draw arrows and paths on top of it to represent drone movement.
Official App Listing
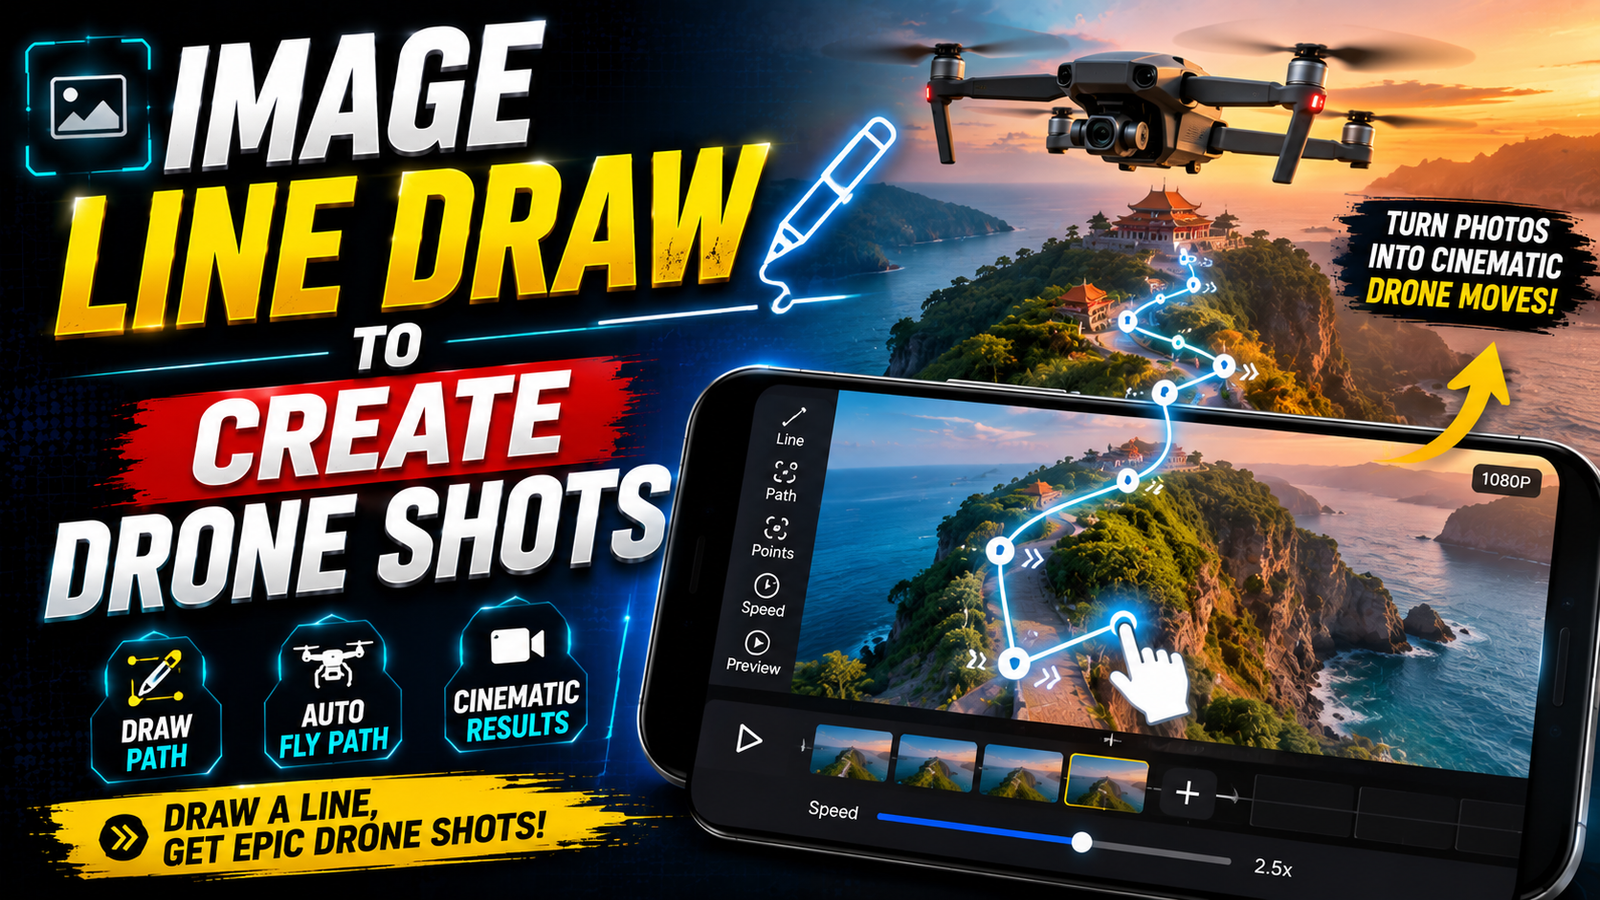
The view file resource button opens a third-party file or document page related to Image Line Draw To Create Drone Shots. Review the owner, sharing status, and file type before copying, installing, or entering private information.
Step 2: Import the image into a drawing app
- Open your drawing app of choice.
- Create a new canvas and import the screenshot as the background layer.
- Lower the opacity of the background slightly (e.g., 60 80%) so your lines will stand out clearly on top.
- Add a new layer above the background. This is where you’ll draw your drone paths.
Using layers makes it easy to tweak your lines without damaging the underlying map or photo.
Step 3: Sketch basic drone movement paths
Now you’ll translate camera ideas into simple lines and arrows.
Create a simple legend
On a separate part of the canvas, draw a small legend so you remember what your lines mean. For example:
- Blue solid line: drone forward movement
- Red dashed line: sideways or orbit movement
- Green arrow: camera tilt or pan direction
- Small X: start/launch point
- Circle: end point
This doesn’t have to be pretty just consistent enough that you understand it when you’re in the field.
Draw a few core shot types
On top of your map or photo, try planning 3 5 classic moves:
- Reveal shot: Start close to an object, draw a line backwards and slightly up, with an arrow showing the camera tilting down to reveal the landscape.
- Orbit: Draw a circle around your subject with arrows indicating the direction of rotation and camera facing inward.
- Push in: From far away moving toward the subject; a straight line with an arrow forward, camera locked on the subject.
- Tracking shot: A line that parallels a road, river, or person’s path, showing the drone moving beside them.
Avoid trying to plan 15 shots at once. A small set of clearly drawn moves is easier to execute on location.
Step 4: Add timing and speed notes
Line drawings alone don’t tell you how long to fly, which affects how cinematic the shot feels. On the same drawing layer or a new text layer, add:
- Estimated duration: e.g., 8 10 seconds for a push in, 15 20 for a slow orbit.
- Speed reminders: Very slow / 2 m/s or Medium / 4 m/s depending on your drone.
- Start/stop actions: Start recording here or Tilt gimbal from 10° to 30° over duration.
These small notes are handy when you’re rushing before battery runs low.
Step 5: Organize plans into a shot list on your phone
To avoid jumping between multiple files mid flight, create a simple shot list:
- Save each drawing as a clearly named image, e.g., 01 orbit lake.png, 02 reveal hill.png.
- Put them in a dedicated folder or album in your gallery app: Drone Shot Plans Lake Trip.
- Optional: Add a short text note or checklist in your Notes app listing shot names and priorities.
Before flying, quickly review the images so they’re fresh in your mind. If your drone app supports it, you can switch to your gallery between flights to glance at the next plan.
Step 6: Translate drawings into actual drone moves
Now comes the critical part: turning lines into motion without flying like a robot locked to the drawing.
- Review the first plan while on the ground. Visualize the move from start to finish.
- Set your drone’s basic settings: slower gimbal speed, smoother expo curves or tripod/cinematic mode if available. These make it easier to match the gentle lines you drew.
- Take off and hover safely. Confirm GPS lock and no obstacles in your planned path.
- Execute the path loosely: Use the line as a guide for direction, elevation change, and speed but adjust to the real environment.
- Record 2 3 takes of each planned shot. Use the first as a rehearsal to refine timing and framing.
If something in reality doesn’t match your drawing (trees, cables, people), treat the drawing as a sketch, not a contract. Safety always wins over the plan.
Common mistakes when planning drone shots with drawings
- Overcomplicating paths: Too many turns and altitude changes are hard to fly manually, especially on a small screen. Keep paths simple curves and lines.
- Ignoring wind and obstacles: A perfect top down drawing can hide trees, signs, and power lines. Always visually scan the area before executing.
- No backup shots: If your plan fails (crowds, lighting changes), have a few generic safe moves in mind: slow rises, straight push ins, or side reveals.
- Planning shots longer than your edit needs: You rarely need more than 15 20 seconds of continuous motion. Long paths waste battery and storage.
Safety and legal notes
Even the best line drawings don’t replace basic drone safety:
- Check local regulations (weight limits, no fly zones, altitude caps) before planning complex paths.
- Never rely only on a map screenshot your drawing can’t show wires or small branches.
- Fly within visual line of sight; your drawn path should stay inside what you can actually see.
- Respect privacy: don’t plan paths directly over homes, private gardens, or crowded areas without permission.
FAQ: Line drawings for mobile drone shot planning
Do I need a special app that converts drawings into waypoints?
No. This method works even if your drone doesn’t support imported waypoints. The drawing is a visual reference you follow manually. Some third party tools claim to convert KML or drawn paths to waypoints, but check compatibility and your drone warranty before using them.
Can I do this on a small phone screen?
Yes, but complex paths are harder to see and edit. For more detailed planning, use a tablet or plan on a laptop then sync the drawings to your phone.
How detailed should my line drawing be?
Enough to show direction, start/end points, and rough timing. If you need more precision, add short text notes instead of making the line itself complicated.
Is this useful if my drone already has QuickShots or cinematic presets?
Yes. Built in presets are fixed patterns. A drawn plan helps you decide when and where to use them, and how to combine manual and automated moves into a coherent sequence.
What to do next
Start with a single location you know well a park, a lake, or an open field. Create three simple line drawings on your phone, then go out and try to match them.
After the flight, compare your footage with the original sketches. Adjust your lines based on what worked and what didn’t. Over a few sessions, you’ll build your own personal library of reusable drone shot diagrams that live in your pocket and keep your flying more intentional and less random.